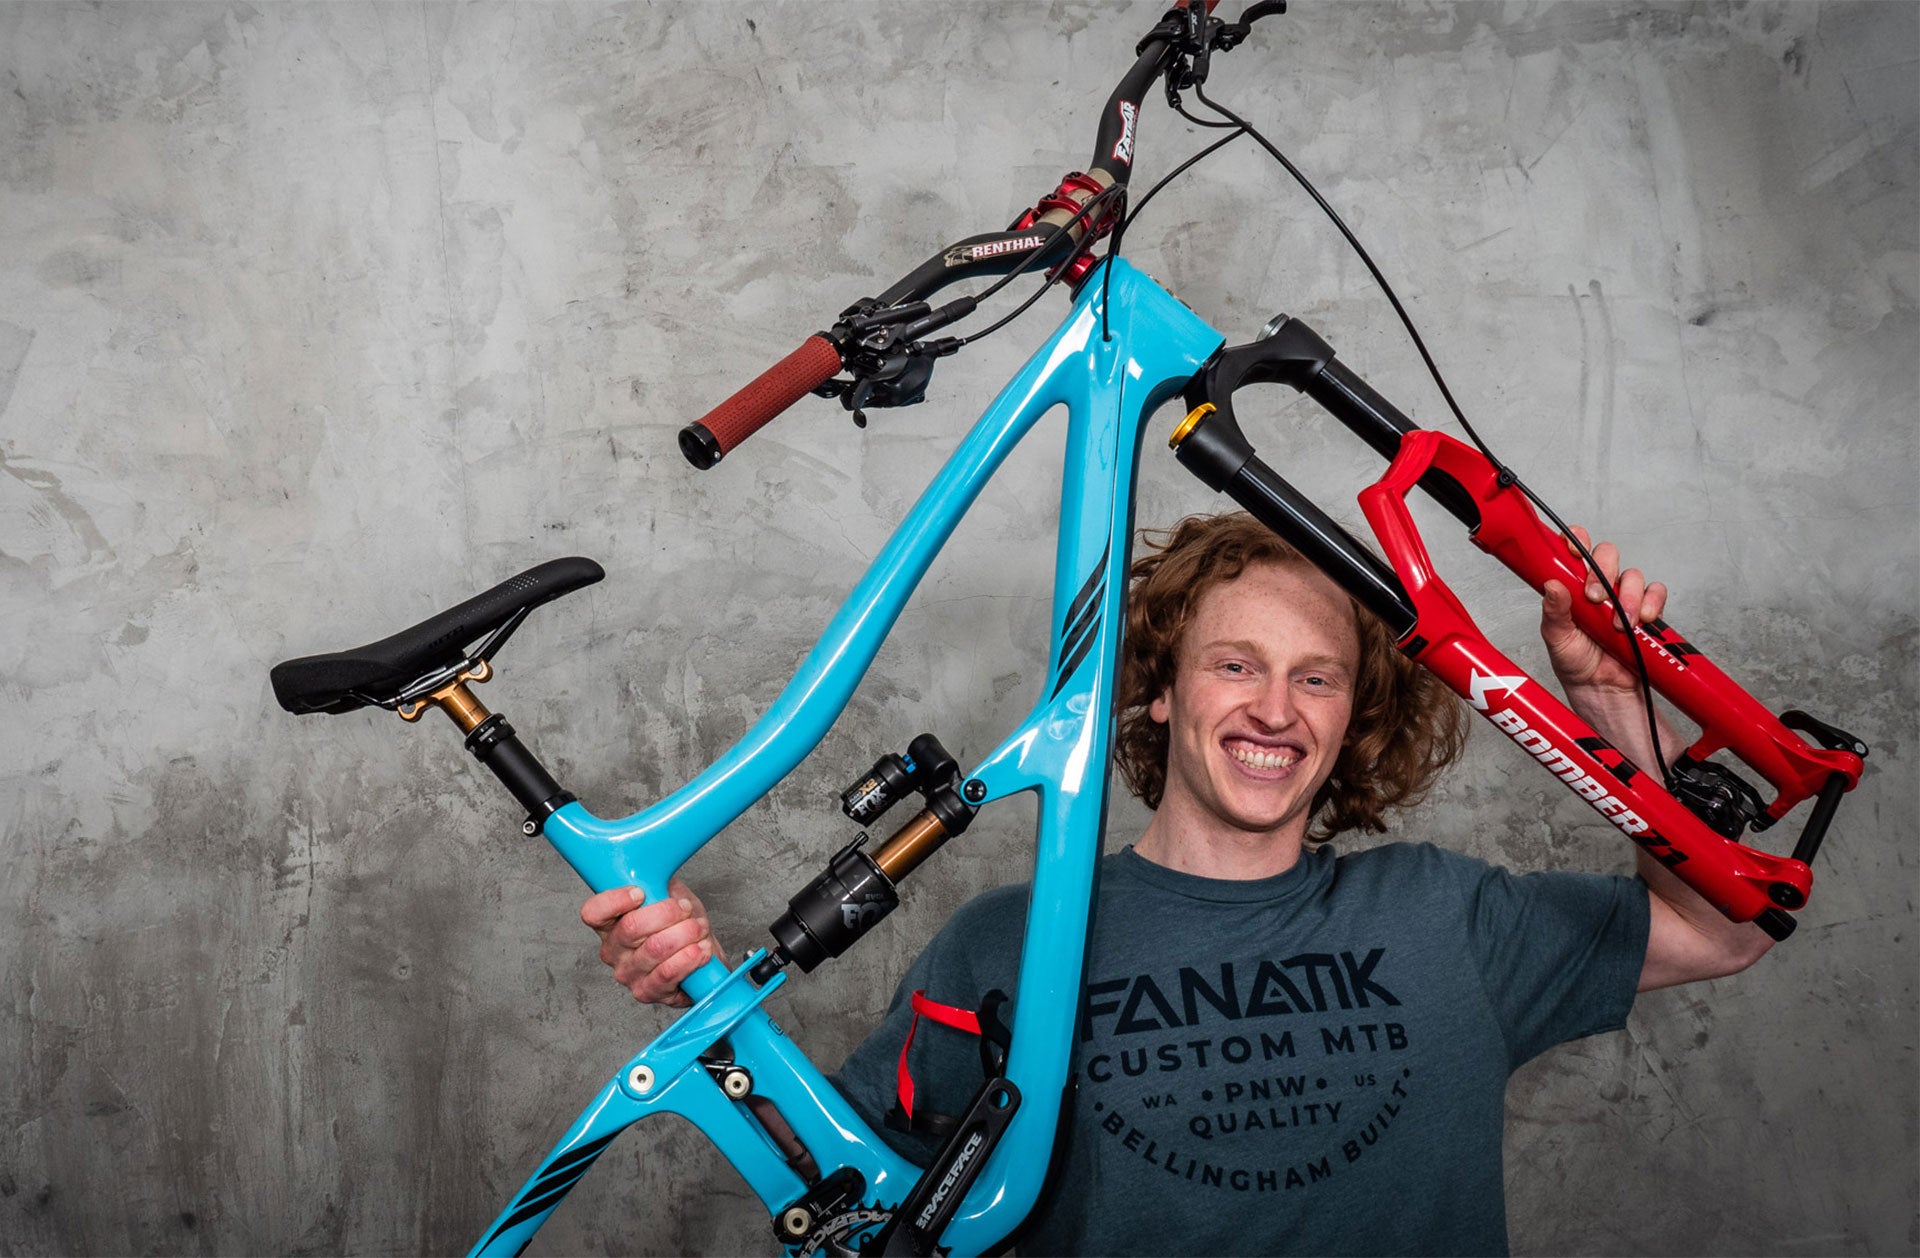
In this series, we’ve separated all the parts of a mountain bike into six “systems,” which we'll break down into easily digestible parts. With a good understanding of how all the components of a bicycle work together, you’ll be able to more confidently approach mountain biking, no matter how long you've been riding!
In part 2, we’re looking into the component “system” that allows you to drive your bike forward. As a whole, this is called your drivetrain. Simply put, a bicycle drivetrain consists of a pedal-powered crank which turns the rear wheel using a chain and gears.
The ratio of the gears determines how many revolutions the rear wheel makes for each revolution of the crank. In a gearing system with a 1:1 ratio, for every single revolution of your pedals, the wheel turns once. With a 2:1 ratio, for every revolution of your pedals, the rear wheel turns twice. The lower the ratio is, the easier it is to pedal. For example, a 1:1 is easier to pedal uphill than a 2:1.
Crank Set
Because of how little friction there is between all the components of a bicycle drivetrain, it is an extremely efficient system—much more so than any of the gearboxes or alternate transmissions that have come to the market, hence the staying power of current design. The power transfer from your legs to your rear wheel starts at the crankset, which is simply two offset arms that are attached by a rotating spindle.

A SRAM XX1 Crankset. Note the silver spindle.
These crank arms are what your pedals thread in to, and its worth noting that the non-drive-side pedal is reverse threaded. That means that instead of righty-tighty, like on the drive side, you’ll tighten this pedal to the left. The reason behind this is so that as the system rotates while you pedal, you don’t tighten the pedals so much that they can never be un-screwed. Another necessary step to prevent this is to apply a small amount of grease to your pedal threads any time you swap them out.
Chainring
On the drive side crank arm you’ll find your chainring. This replaceable piece can vary in a number of ways: It can be oval or round to change how power is delivered through the rotation. It can be made of aluminum or steel to alter how quickly the teeth wear out and how much the chainring weighs. And it can have different numbers of teeth to make your range of gears easier or harder.

An aluminum and a steel chainring. Note the alternating narrow-wide teeth.
These days, mountain bike chainrings have alternating narrow and wide tooth profiles to better mesh with your chain and keep it from falling off. And regardless of the specific chainring you pick, they all serve the same purpose - getting power from your legs to the chain.
To connect this all to your frame, we need a crucial piece called the bottom bracket. Like your headset, a bottom bracket is simply two bearings that either thread or press into your frame. In this case, the bottom bracket is pressed into the frame and the crank spindle rotates within these two bearings while you pedal.
Cassette
If your cranks are where the power from your legs enters the drivetrain, your cassette is where that power is going. It is simply a cluster of gears mounted to your rear wheel. Most cassettes now consist of 12 gears, ranging from around 10 teeth at the small end, to about 52 teeth at the large end. Such a large spread of gears gives you a lot of wiggle room to find the perfect gear ratio, whether you’re pedalling up a steep hill or cranking down a fast speedway.

A SRAM Eagle 12 speed cassette
Derailleur
To move our chain up and down these gears we have the derailleur, a spring loaded mechanism that contains two pulley wheels inside of a cage. With our chain running from chainring to cassette and through the derailleur, we have a system that efficiently transfers power from your legs to the rear wheel. The spring loaded derailleur is also able to accommodate the increasing lengths of chain needed when you move from smaller to larger gears or move through your rear travel.
Shifter
The last piece of the drivetrain puzzle is the remote that allows you to control your derailleur and change gears. It is a spring loaded device that communicates with your derailleur via a cable that runs through non-compressible housing (it is stiff enough that it won't bend or contract under the tension from the cable). With each click of your shifter, you’re pulling in or letting out incremental amounts of cable.

A SRAM Eagle 12 speed shifter
These indexed positions correspond to a specific location for the derailleur pulley below one of the cassette’s cogs.
That covers mountain bike drivetrains, Part 2 of Understanding Mountain Bikes. With a basic understanding of these components, we now know how our bikes turn power from our legs into forward movement more efficiently than any other vehicle!
Tune in next time for Part III, where we’ll discuss one of the most impressive and mind boggling parts of any bicycle: the wheels. We’ll also talk about tires and the different ways to set them up on today’s mountain bikes.
- Dan at Fanatik


