At Fanatik, bicycle wheels are clearly near and dear to our hearts. Last year, we built around 2000 wheels for you, our customers. We work hard to maintain the solid reputation you’ve given us, and to this day, we offer our Custom Built wheels to you without charging for labor… that’s because we take pride in having as many people as possible out there on high quality, hand-built wheels, having a blast on their bike.
Wheels look simple but are astonishingly complex: a central hub is laced to a tire-supporting rim with lightweight pieces of steel wire, called spokes. Because wire has no strength under compression, it is by methodically bringing them up to even tension that we give a wheel its incredible strength.

Most mountain bike wheels out there, probably including the ones that are on your bike right now, are machine built. That means that after a human attaches the hub to the rim with the spokes (called “lacing” the wheel), they plop it in a machine that brings all the spokes up to tension very quickly. It’s fast and inexpensive, but like a twinkie versus a bakery fresh doughnut, it’s not quite the same.

There are many ways to build a wheel, but let’s take a look at some of the methods we have found to be successful over years of building high end wheels for a whole lot of happy mountain bikers.

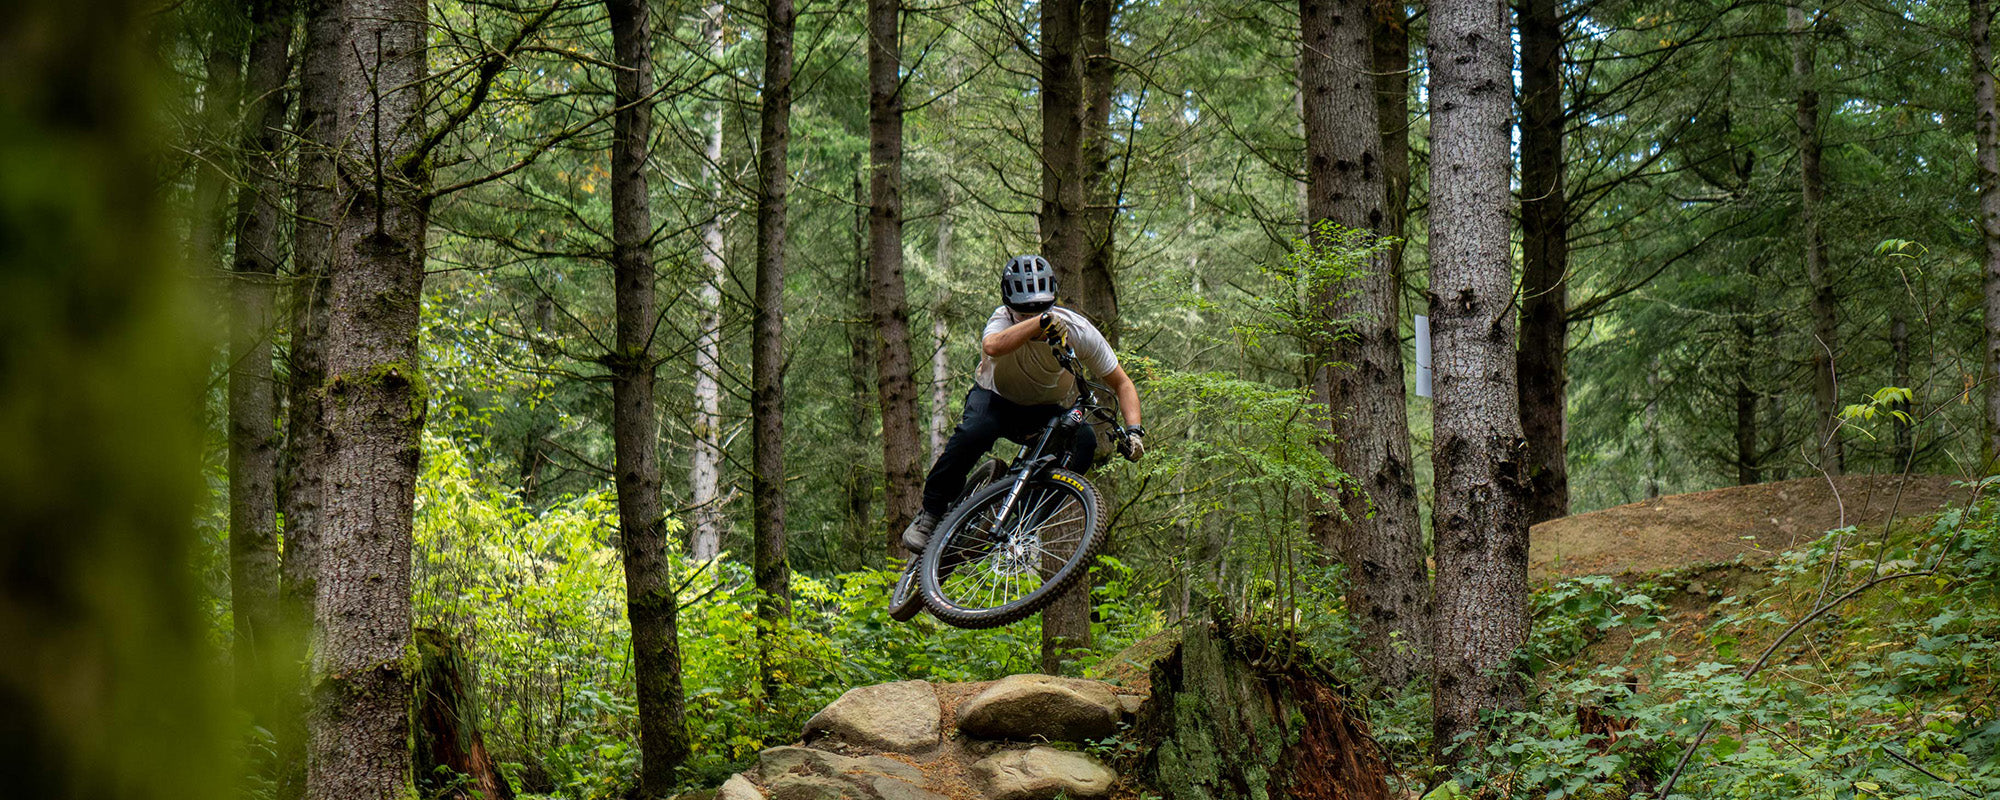
Nick Yergz on his Transition Patrol. Photo by Doug Jambor.
What Fanatik Does Differently - Tension
Every good wheel builder uses an accurately calibrated, highly sensitive tool called a tensiometer to—you guessed it—measure spoke tension as they go around the wheel, slowly and evenly bringing each spoke up to tension. This makes for a balanced wheel that can evenly distribute the massive impacts you’re going to subject your wheel to. In other words: instead of dealing with a hit in one localized spot, that force spreads out through all the spokes, keeping the wheel strong and true.

Spokes
One aspect of the wheel that helps it accomplish this is the spokes you use. Less expensive spokes are often straight gauge spokes, which means they are the same thickness from one end to the other. That makes for a stiff wheel, but you’ve heard the saying “too much of a good thing,” and too much stiffness means that forces don’t get distributed as well and can result in failures at the rim, the nipple, the hub, or even the spoke itself.
When we’re building wheels, we most frequently use a double butted spoke, which means that it is thicker at the ends where it interfaces with the hub and the nipple, and thinner in the middle, which gives it more elasticity than a straight gauge spoke.

That actually results in a stronger, longer lasting wheel, because it deals with all the abuse we put it through better. Being thinner lets the spokes stretch as they need to, instead of putting the forces in places that can’t handle it as well.
Two Cross / Three Cross
Speaking of forces, mountain bikes are actually set up in a way that makes the wheels weaker. Because your cassette pushes the spokes towards the hub’s center in the back, and the rotor pushes the spokes inward in the front, the pyramid that your spokes form if you look at it head on gets squished in.

A nice wide pyramid is less likely to topple over than a tall skinny one, so this process, called “dishing,” makes a wheel less able to deal with those side-to-side, pyramid toppling forces like cornering. To offset that, we do something that most other wheel builders don’t, which is to use a 2 cross lacing pattern on the pushed-in side.

Each spoke "crosses" another spoke in two places, as opposed to three.
This pattern, which uses shorter spokes that travel to the rim more directly than a 3 cross spoke does, makes the wheel stronger in that side-to-side, or lateral, dimension, and helps us offset the weakening that dishing creates.
Nipples
Like our 2x/3x lacing pattern, we do a lot of things with our wheel-builds to make the strongest, longest lasting wheel possible. One of those things is to use brass nipples instead of aluminum nipples in our wheels.

The nipple is the component that the spoke threads into, and it handles more stress and force than it’s given credit for. Not only is it always getting pulled on by the spoke, it also gets a lot of torque on it during the build process and subsequent tensioning and truing. Sticking with brass nipples means you won’t get tiny splashes of color at the end of your spokes, but it also means that your nipples won’t corrode over time or get rounded when you put a dent in your rim and need to true them up.
I know, black and silver aren’t as interesting as pink and gold, but we’ve got plenty of opportunities to get some color on your wheels, like our new We Are One decals that Ian designs.

Washers
Another piece we use on our carbon builds is a nipple washer, which sits in between the nipple and the rim.

This washer, which we lubricate with a high quality grease, creates the perfect surface to hold the nipple in its high-tension seat, and gives it a nice smooth platform to spin around on as we bring the wheel up to tension.
Keep On Turning
These little odds and ends are the types of things that are easy to skip, and that may not result in a noticeably different wheel when it’s brand new. But years down the road these steps will make or break a wheelset. And, at the end of the day, that’s what we want to provide for you: years and years of fun.

If you haven’t already, go check out our Custom Wheel Building tool. It’s on fanatikbike.com, and it lets you go through and pick any hub and rim combination, custom decals, and even tires, which we’ll mount on your wheels before we ship them out.
Labor is free, and you even get a discount on all the parts. If you’re looking to get on a custom, quality set of handbuilt wheels, it’s the most cost effective way of doing it that I’m aware of!
Happy trails!
Words and photos by Dan Perl


