As one of the two points of contact between you and your bike, setting up your handlebars and controls properly makes an enormous difference in creating an enjoyable ride. People frequently will hop on a new bike and go without giving this a second thought, but proper handlebar setup will differ drastically from person to person, and even if your mechanic knows what they are doing in this regard (I’ve seen more than one that don’t), chances are they aren’t the same size and shape as you, and don’t have the same riding demeanor as you do. If you have just received a partially assembled bike in the mail from us, chances are you will be going through this process yourself. If that is the case, get your bike fully assembled before performing this fine tuning.
Table of Contents
- Angle of the bar
- Properly torquing brake/shifter clamps
- Single finger braking
- Lever reach
- Handlebar width
Angle of your handlebar
The first adjustment we’ll make is to set the angle at which your bar sits in your stem. Let’s define some terms here:
Rise: This measurement is how high your hands are (measured vertically) from the stem. 
Sweep: This is the degree to which your bars bend backward from the stem. It is typically between five and nine degrees.
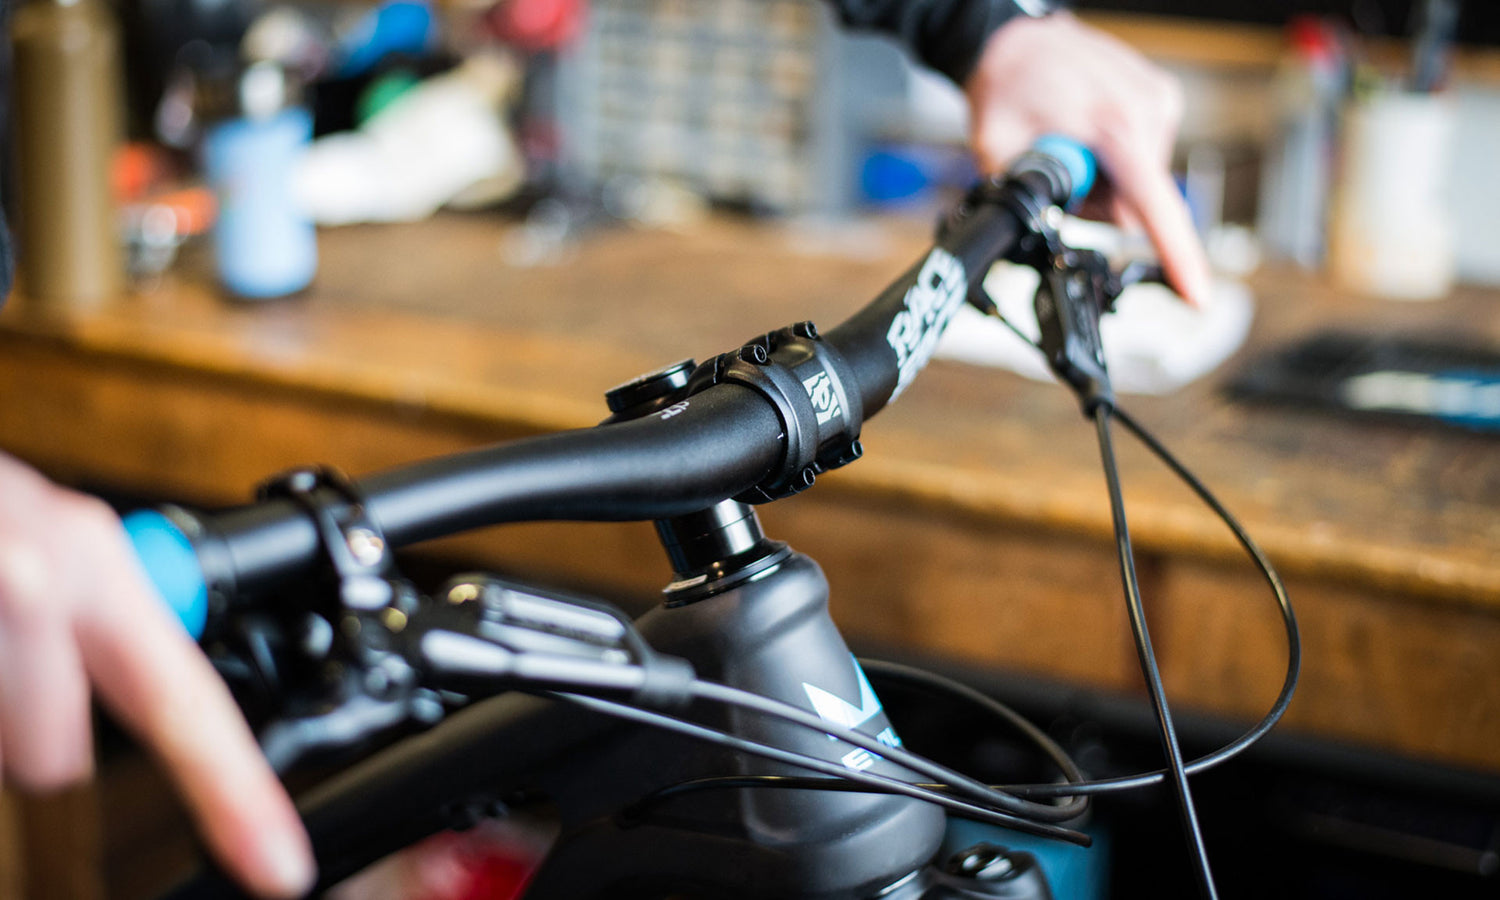
- Center the bar in your stem. This will be easiest if you evenly snug up the stem faceplate bolts until your handlebar isn’t flopping around. Most handlebars have a marking in the very center, or evenly spaced markings away from the center. Get these lined up evenly with the edges of the stem’s face plate.
- Adjust the fore/aft angle. With your bike upright on flat ground, kneel down so that you are at eye level with your handlebar. Look at the sweep of your bar, and set it so that the ends of the bar are as far back as they'll go. Then rotate the bar forward one or two degrees. The goal here is to have your bar place your arms in a natural position. You don’t want to feel as if your elbows are being pushed up, but they should be in an aggressive stance.The final setting, as with all of these tips, will vary from person to person. If you aren’t exactly sure where you want it, just get it in a neutral spot; you can adjust from there after you try it out.
- Tighten the stem faceplate bolts down in an X pattern (eg. top left, bottom right, bottom left, top right), in an even manner, until they are tight. Once tight, check to make sure the gap between the faceplate and the stem is even on the top and bottom.
Properly tightening your control clamps
Crashes happen. Many of us have snapped off brake levers during a tumble, which results from overtightening the brake clamp. To prevent against this, we're only going to tighten the control clamps just enough to where they don't rotate under normal use. They SHOULD still be able to rotate around the bar, given a solid push.
Single finger braking
This part of the guide is devoted to setting up your brake levers on the bar, but before we delve into that, let us cover one-fingered braking. If you already brake with one finger, skip this section, but read the next one covering lever reach; you might gain some insight into arm pump.
In the days of cantilever and v-brakes, it was necessary to apply as much force as possible to slow you down if you were traveling any quicker than walking pace. Today’s hydraulically actuated disc brakes are a far cry from that, and even the inexpensive ones could be actuated by a toddler. Even so, many newcomers to mountain biking still reach for their levers with two fingers because they have spent a lifetime using cable actuated brakes. This isn’t in fact the best approach. With the extreme stopping power that modern disc brakes have, one finger provides more than enough leverage to fully lock up your wheel, if needed. The more fingers you have on your bar, the more control you will have over your bike.
- To brake with one finger, you may have to move the brake levers in towards your stem so that the lever doesn’t depress on to your middle finger. The best way to do this is to put your hands on your grips where you like them, close your eyes, stick your index fingers straight out, and drop them down. Okay, now open your eyes. Note where your finger is; this is where the outermost bend, or “hook” of your brake lever should be. Move the levers in or out on your bar accordingly.
- Tighten the clamp bolt - remember, just tight enough they don’t spin when you are braking. You should still be able to rotate them on the bar with enough exertion.
- The angle at which your brake sits on the handlebar is a matter of much contention, and again, will really be determined by personal preference. I find myself putting the levers closer to the horizontal end of things, but many people angle them down quite a bit. If you are uncertain, put them parallel to your forearms when you are sitting in the saddle. It’s easy enough to adjust this on trail if need be, especially now that you can move your controls with a good push. Here is some further reading on the subject of lever angle.
Brake lever reach
Proper brake lever reach is important, and can reduce "arm pump". This is the exhausted feeling that develops in your wrists and forearms during extended downhills. It can be minimized greatly by moving your brake lever inward toward your bar. This can be quickly and easily accomplished on most brakes by changing the “reach” adjustment. It is called this because it changes how far your finger has to reach to engage the lever. This adjustment is available on most brakes, and it is usually in the form of a dial or knob somewhere on or around the lever. If you're unsure, you can always reference your manual.
Why does this help? Picture doing a pull-up with an open hand grip vs a closed grip. Your hand and forearm will tire much more quickly doing a pull-up with your fingers open. Same thing when you are hanging onto your handlebar for dear life. How close to the bar should your levers engage? I like to run my lever so that the brake engages almost on the grip. This is closer than most people are comfortable with, but since it is so easy to change this on most brakes, you can experiment with it on trail.
Free Stroke/Pad Contact
Higher end brakes have a “free stroke” (Shimano XT, XTR, Saint) or “pad contact” (SRAM Guide RSC and Ultimate) adjustment. This determines the distance you have to pull the lever before it engages (as opposed to reach, which determines how far away the lever sits from the bar). Start by adjusting reach, and if you find that you’d like the brake to engage more quickly when pulling on the lever, change the free stroke or pad contact.
- With SRAM brakes, turning the wheel towards the arrow indicating “in” will make the lever engage further in towards the bar, or decrease the amount of distance required to engage your brake.
- With Shimano brakes, unscrewing the “free stroke” screw on your lever will increase the amount of distance required to engage your brake (increasing the “free stroke").
This is primarily a personal preference matter, but can be useful when trying to set up your lever to engage closer to the bar, as described in the previous section. Also, riders with smaller hands may benefit from a shorter lever throw..
Shifter and dropper post location
The final step in control setup is determining where to put your shifter and your dropper post remote. This varies pretty widely depending on what combination of components you are running - Shimano, SRAM, or some combination therein.
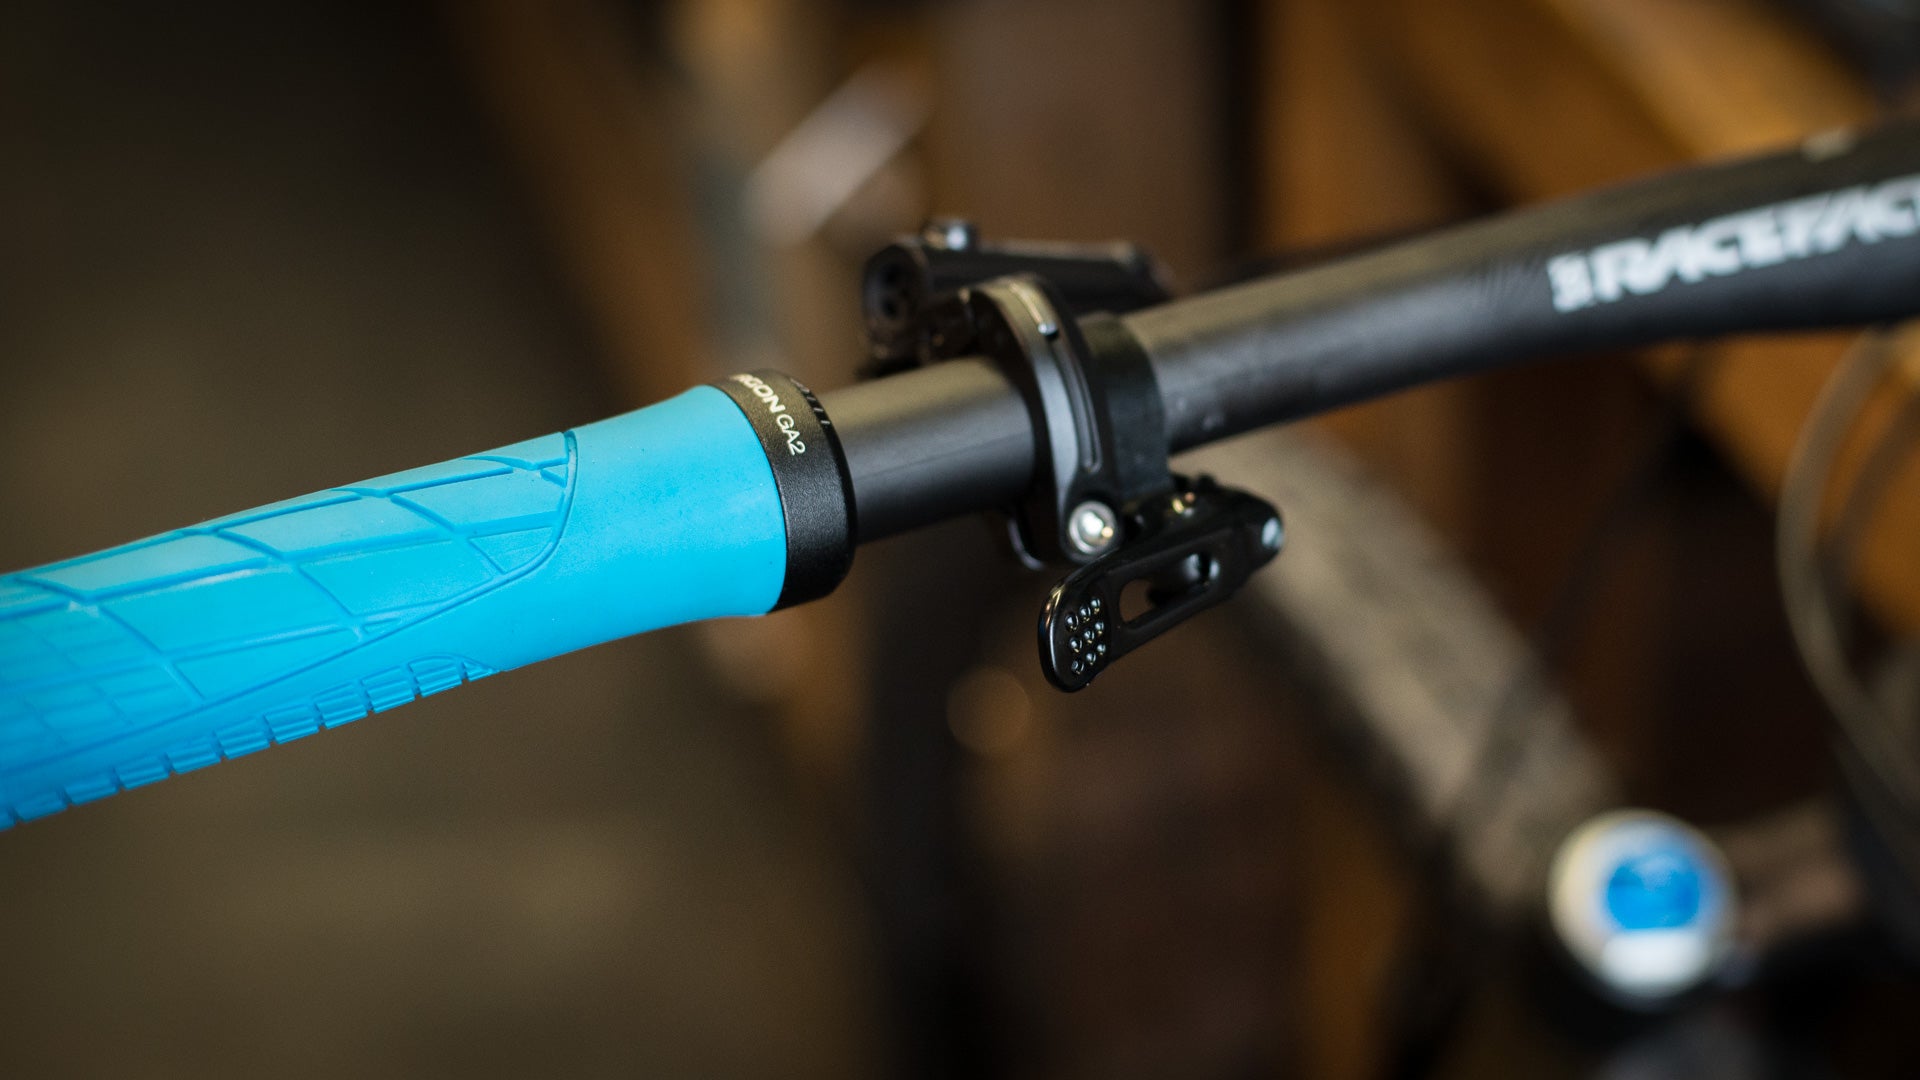
- SRAM brakes, shifter, and Reverb dropper post. Here, you may be using a Matchmaker clamp, which allows you to attach your shifter and Reverb remote to your brake clamp. In this situation, you do have a little leeway with how far out your shifter sits from your thumb, by using one of two different bolt holes on the shifter to attach it to the clamp. You can see these in the photo below.
- Shimano brakes and shifter. In this case, Shimano has designed the shifter to go inside the brake (further towards the stem). Experiment with your dropper remote location, this will vary from brand to brand. With the advent of 1X drivetrains, most people run their remote on the left side of the bar, to free up your right thumb for shifting.
If you are running a hodgepodge of parts from different manufacturers, the controls may not fit next to each other in a certain orientation, which can dictate how you arrange them to some extent.
Handlebar Width
If you’ve been riding mountain bikes for more than a few years, you’ve probably noticed handlebars trending wider. Why? A wider handlebar gives you more leverage and control. This means that hitting an unexpected root or rock with your front wheel is less likely to tear the handlebar out of your hands. Think of Archimedes quote: “Give me a lever long enough and a fulcrum on which to place it, and I shall move the world.” Well, if Archimedes had had a Highside 35/OS 800 Handlebar, he probably could have.
That doesn’t mean that the widest, 800mm (31.5”) handlebar is right for you. A variety of factors come into play when deciding what width bar is right for you, or whether to cut down your current bars (remember, you can’t make them wider again).
- Your arm-span
- Your shoulder width
- How many trees are on the trails you normally ride.
- How long your stem is.
Taller people (6’+), and those with very wide shoulders or long arms can often run an 800mm bar and benefit from added stability, unless their local trails have them dipping through tight-nit trees frequently. Then the danger of smacking your hand on a tree as you zoom by outweighs any benefits that may be gained. 760mm, or 30 inches, is a pretty good middle ground, and can accommodate anyone from 5’4” to 6’ comfortably. You can take a look at our handlebar offerings here, just make sure you know what stem clamp size you need: 31.8mm or 35mm.
Well, there you have it. A (fairly) comprehensive to setting up your handlebar. Remember, personal preference, previous habits, and component choice can all affect how your bars are set up, so if this all seems overwhelming, get everything into a comfortable position and just make small adjustments from there. If you have any questions, please feel free to call or email us at any time. We love to ride bikes, and we’re here to help.
Happy trails, Dan at Fanatik

